|
|
|
|
|
|
|
|
|
|
|
|
|
|
|
|
|
|
|
| | | | | | | | | | | | | | | | | | |
| | | | | | | | | | |
| | |
|
| | | | | | | | | |
|
|
|
| | | | | | | | |
| | | | | | | |
| | | | | | | | |
|
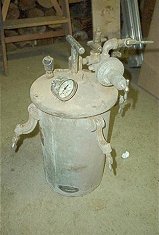
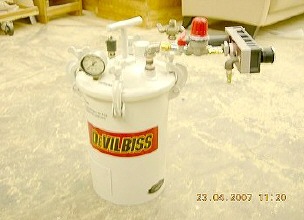
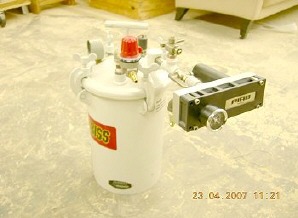
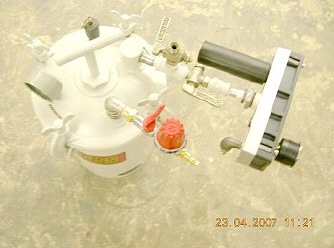
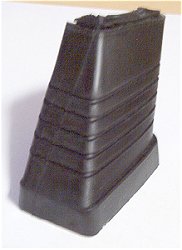
A painting pressure pot tank was saved after a fire and re-built. It was converted and
equipped with a vacuum generator to de-gas the polyurethane rubber prior to pouring. The
tank also acts as a pressure vessel to pressure cast the polyurethane rubber compounds used
in reproducing rubber parts. The basic (more difficult than it looks) steps are shown below for
the tooling and part creation.
|
|
| | | |
| | |
|
| | | |
| | | | | | |
|
| |
|
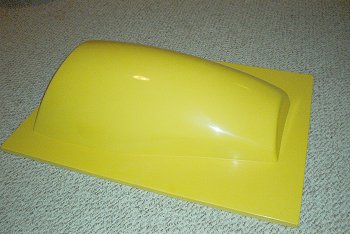
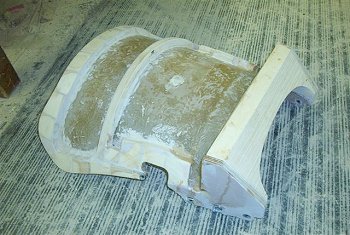
I was told that on a level of difficulty from 1 to 10, these parts were an 11 (although the rep
assured me that these could be reproduced - he had never seen anybody do a part quite
like this). So that challenged me to succeed in making these. You have to start off with a
good part (or a good representation) - as shown in the first two pictures - build pour boxes
and mould around the part. The picture to the left shows the completed mould (4 piece).
The picture next to it is a reproduction part that is about 95% perfect. I am in the final
process of getting the right amound of pressure to force air bubbles out for pressure casting
these parts in the tank shown at the top of the page.
|
|
| | | | | | |
| | | |
|
| | |
|
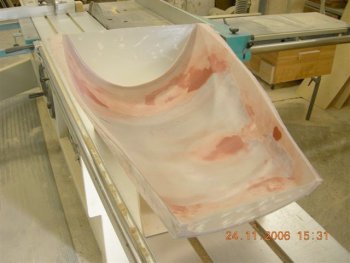
To create tools for a thermal vacuum form mould, I had to say goodbye to one of my spare
windshields. The first picture shows a building of plastic forms around the existing
windshield. I decided to extend the height available for custom requests, so there was a lot
of bondo applied to form the multicurved shape in the plug for the additional height. This
plug was used to create the fibreglass shell for creating the vacuum form mould.
|
|
| | | | | | | |
| | | | |
|
| | | | |
|
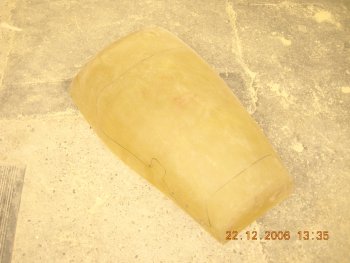
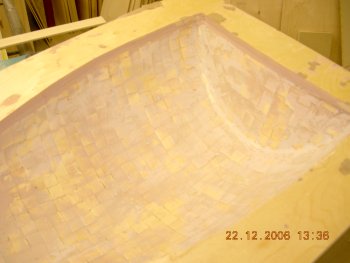
The above left shows the fibreglass shell after it was removed from the plug and trimmed.
The photo to the right shows the inner surface of the shell and how it was re-enforced to
withstand the high pressures created during the vacuum forming process. The below left
photo shows the vacuum form mould after it was laminated to it's landing. Final bondo was
applied to ensure an extremely well blended surface. The picture below and to the right is
the final vacuum form mould. After final sanding, it was coated with Hi-Temp paint, wet
sanded and then polished. This creates a perfect surface which gives clarity to the moulded
polycarbonate (Lexan) windshield.
|
|
| | | | | | |
| | | |
|
| | | | | |
| |
|
| | |
|
The last two pictures show the jig used for laminate trimming the plastic to shape, as well
boring the mounting holes.
|
|